To install LED grow lights correctly, the details matter just as much as the fixtures you choose. A few inches of mounting height, a small shift in row spacing, unlabeled dimming channels, or skipping PPFD checks can all turn a good lighting design into uneven growth, weak corners, and unpredictable finishes.
This guide focuses on installation details that are easy to miss during the rush of a build-out: how you reference canopy height, how straight your rows actually are, how your electrical loading matches real dimming levels, and how PPFD mapping confirms that everything is working the way it should.
Why Installation Details Matter
Small mistakes become big performance gaps
Spec sheets for LED grow lights usually assume a perfect installation: correct mounting height, clean spacing, accurate dimming, and balanced airflow. In real rooms, small deviations stack up. Rows that are slightly crooked, fixtures hung too high, or dimming channels wired in a hurry all translate into uneven PPFD across the canopy.
The visible symptoms show up later: thicker leaves in the center, stretched growth on edges, delayed development in certain racks, and a wider spread of harvest timing even inside the same room. Often the fixtures are not the problem—the installation details are.
Good hardware still needs a good layout
High-PPE fixtures with excellent specifications can still underperform if the layout is sloppy. As discussed in the articles on light uniformity and mounting height and PPFD maps versus coverage claims, the way you hang and group the fixtures is part of the performance, not an afterthought.
7 Critical Details to Install LED Grow Lights Correctly
1. Base mounting height on future canopy, not the floor
Many installs measure mounting height from the floor, but plants never grow from that reference. The important distance is between the fixtures and the expected canopy. When you install LED grow lights, first confirm bench or table height, add the typical canopy thickness in flower, and then back-calculate where the fixtures should hang.
For slim bar LEDs, typical flower mounting ranges are roughly 6–14 inches above canopy, with wider bar or high-power multi-row assemblies often set higher. You can use the guidance from the benefits of LED grow lights overview to select a mounting range that leaves room for dimming adjustment instead of running everything at full power from day one.
2. Keep rows straight and spacing consistent
Row alignment is not only about appearance. If one row of fixtures drifts off the grid, the PPFD peaks underneath it also drift, creating diagonal bright and dim bands that are difficult to correct later. Straight rows and consistent spacing are the foundation of good light uniformity.
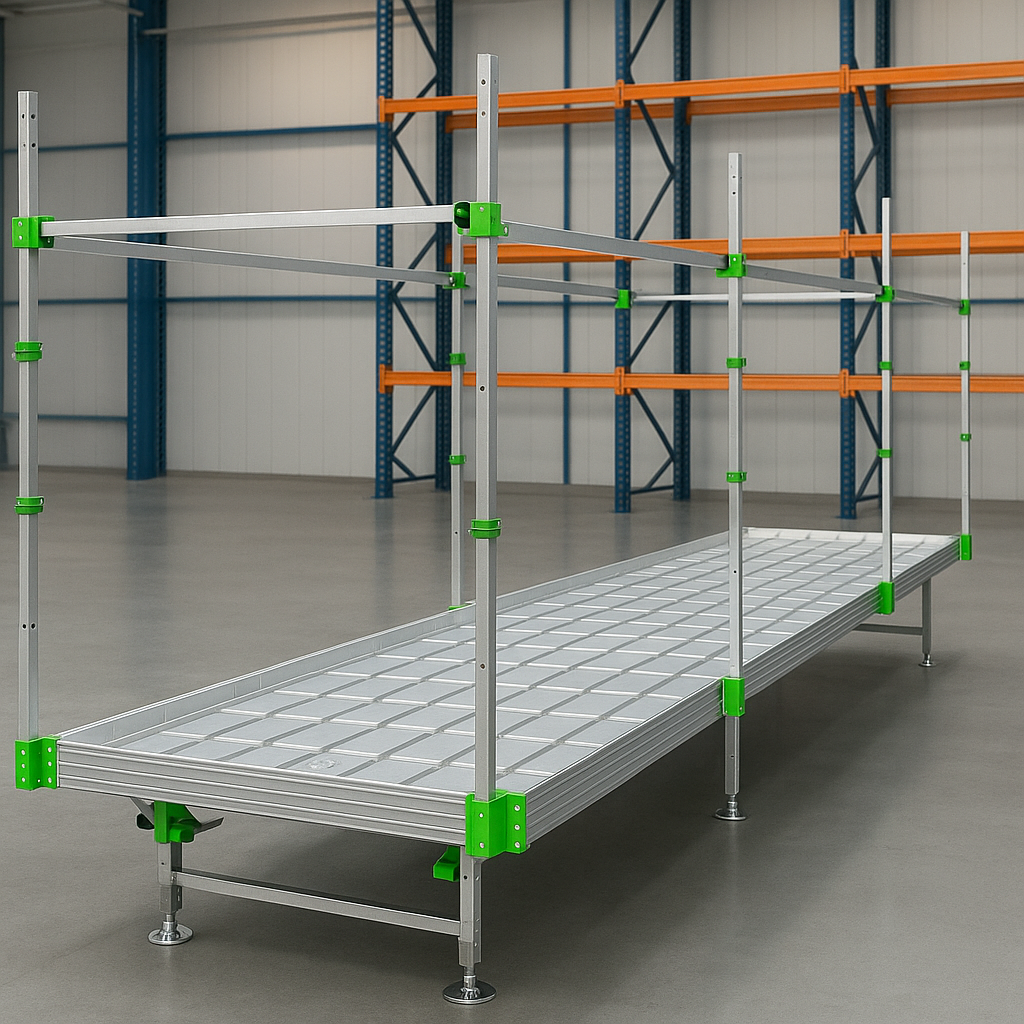
Mark center lines and spacing lines on the ceiling or strut before hanging hardware, and use a laser line to keep each row aligned. In vertical rack systems, make sure the center of each fixture lines up with the center of the trays below so that one side of the canopy is not consistently brighter than the other.
3. Match electrical loading to real dimming targets
Electrical design often assumes every circuit runs fixtures at 100% power. In practice, most rooms dim during early stages and may sit between 50–80% for long stretches. If circuits are only calculated from nameplate wattage, it is easy to end up with some breakers lightly loaded and others quietly overloaded after future changes.
During installation, decide the intended run-power for each room—for example, 80% during peak flower—and verify that every circuit stays within rating with a reasonable safety buffer. Keep a simple load table taped inside the panel door so future teams know how many fixtures each breaker is supposed to carry.
For more background on how dimming interacts with power use and PPFD, see the guide on mastering dimming for indoor grow lights.
4. Label dimming channels and control groups
Dimming and control wiring is one of the most common sources of confusion once a room has been running for a while. If channels are not labeled during installation, it becomes very hard later to know which knobs or software groups control which rows or tiers.
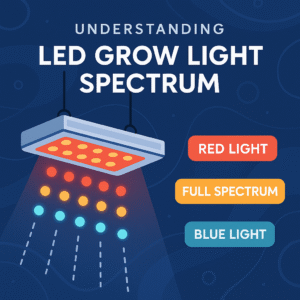
Use durable labels at the controller end and along major junction points that indicate room number, row, and tier. Inside the controller panel, add a simple floor plan that shows which channel corresponds to which area. For multi-channel spectrum fixtures with independent UV, red, or far-red channels, clear labeling prevents accidental spectral shifts when someone thinks they are only adjusting brightness.
For more context on how spectrum control affects structure and expression, see the article on LED grow light spectrum insights.
5. Verify PPFD with spot checks, not just spec sheets
Manufacturers usually publish PPFD maps measured in ideal conditions. Real rooms have different reflectivity, temperatures, and airflow patterns. After you install LED grow lights, a quick PPFD spot check is one of the highest-return steps you can take.
Measure a grid of points across at least a few tables or racks—center and corners, plus along walls and aisles. If the lowest reading is less than about 70–75% of the highest, consider adjusting mounting height, tightening spacing, or adding under-canopy lighting where appropriate.
For a deeper look at why PPFD maps are more reliable than simple coverage claims, review 7 Smart Reasons PPFD Maps Matter More Than Coverage Claims.
6. Plan airflow and cable routing around the fixtures
Even efficient LED grow lights create a warm ceiling layer when installed in dense grids. If cables, ductwork, or fans are added without a plan, they can create dead zones for airflow or cast physical shadows across the canopy.
During installation, keep power and control cables neatly bundled and away from fixture centers so they do not block convection. Align supply and return air paths so that fixtures see a steady flow of air rather than direct cold blasts on one side. In vertical racks, leave enough space to add under-canopy bars later without re-running wiring.
Many facilities pair top lighting with dedicated under-canopy systems to keep lower branches productive. You can see typical approaches in the overview of under-canopy grow lights and in the specialized systems available.
7. Document the final layout for future changes
On the day of installation, everyone remembers how the room is wired. Six months later, staff changes and small upgrades make it easy to lose track. A simple “as-built” lighting document created during installation saves hours of guessing later.
At minimum, document:
- Fixture models, quantities, and a layout diagram for each room.
- Standard mounting heights and recommended dimming levels by stage.
- Circuit numbers, breaker ratings, and intended loads.
- Dimming channels and the areas they control.
This documentation makes it easier to upgrade from legacy fixtures, add under-canopy lighting, or transition from older technologies, as discussed in the HPS to LED grow lights complete guide.
Commissioning Checklist and Next Steps
A quick commissioning checklist
Once installation is complete, walk the room with a simple checklist:
- Are fixtures at the planned distance above canopy reference height?
- Are rows straight, with spacing matching the layout drawing?
- Are circuits within rated load at expected dimming levels?
- Are dimming channels labeled and mapped to zones?
- Do PPFD spot checks meet your minimum-to-maximum ratio target?
- Is airflow unobstructed around fixtures and through rack tiers?
If you can confidently check each item, the room is in a strong position for consistent performance across multiple cycles.
Connect installation back to system-level planning
Installation is the final step in a longer process that includes fixture selection, spectrum strategy, bench or rack design, and long-term energy planning. For a broader framework on how different LED grow lights fit into a complete facility strategy, see the pillar guide on LED grow lights and use this installation article as the on-site checklist that brings that plan to life.