


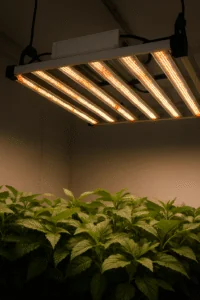
LED grow light hanging height, also called LED grow light mounting height, is one of the most important variables in indoor cultivation because it controls how light spreads, how evenly the canopy receives PPFD, and how efficiently your system performs. A high-output fixture placed incorrectly can still produce uneven growth, hot spots, and weak edges. When LED grow light hanging height is set correctly, the same system delivers stable and consistent canopy performance.
Most growers focus on wattage or peak intensity. In practice, light distribution matters more. The goal is not to push maximum PPFD in one spot, but to deliver usable light across the entire grow area.
Quick LED Grow Light Hanging Height Guide
These ranges are practical starting points. Final adjustments should always be based on canopy response and measured distribution.
| Application | Height Above Canopy | Adjustment Signal |
|---|---|---|
| Clones / seedlings | 18–30 inches (45–75 cm / 1.5–2.5 ft) | Stretching or early stress |
| Vegetative growth | 12–24 inches (30–60 cm / 1–2 ft) | Even canopy development |
| High-output stages | 8–18 inches (20–45 cm / 0.7–1.5 ft) | Hot spots and leaf curl |
| Commercial benches | 12–30 inches (30–75 cm / 1–2.5 ft) | Edge-to-center balance |
| Vertical racks | 6–18 inches (15–45 cm / 0.5–1.5 ft) | Clearance and airflow |
LED Grow Light Hanging Height Chart
This grow light hanging height chart gives a simple working range for common indoor growing setups. The numbers are not a replacement for PPFD readings, but they help growers avoid the most common mistake: hanging fixtures too low to chase intensity while sacrificing uniformity.
Why LED Grow Light Mounting Height Matters
LED grow light hanging height controls the balance between intensity and coverage. Lower placement increases intensity but concentrates light. Higher placement spreads light more evenly but reduces intensity at canopy level. The correct position depends on fixture design, layout, crop stage, and the way light overlaps across the growing area.
Uniformity Is More Important Than Peak Output
If one part of the canopy receives too much light while another receives too little, the entire system becomes inefficient. Adjusting hanging height, spacing, and PPFD uniformity together usually produces better results than simply increasing output.
1. Start with Fixture Design, Not a Guess
Different fixtures distribute light differently. Wide bar-style fixtures spread photons more evenly, while compact or high-intensity fixtures concentrate output. Before setting LED grow light hanging height, understand how the fixture behaves over its coverage area.
Comparing different commercial LED grow lights makes this clear: fixture shape, diode layout, lensing, output, and frame design all influence hanging distance. Even across the broader market, differences in fixture format comparisons show why identical wattage does not mean identical placement.
2. Too Low Creates Problems Faster Than Too High
Lowering a fixture quickly increases intensity, but it also creates uneven distribution just as quickly. This is one of the most common mistakes growers make when trying to solve weak growth. The fixture gets moved closer, the center improves, and the edges fall farther behind.
Signs Your Light Is Too Low and What to Do
- Center plants show stress or curling
- Edges lag behind in growth
- Visible variation across the canopy
- Center PPFD is significantly higher than edge readings
- Plants directly under the fixture need different irrigation than perimeter plants
Raise the fixture first, then re-evaluate. If intensity becomes too low after raising the light, increase output slightly instead of dropping the fixture again. That keeps the wider spread while correcting the total light level.
3. Raising the Fixture Often Improves the Whole Room
In many grow rooms, the real issue is not lack of intensity. It is uneven distribution. Raising LED grow light hanging height improves overlap between fixtures and smooths out the canopy response.
This is especially important in multi-light layouts where each fixture needs to blend into the next rather than dominate one section. A slightly higher fixture can reduce hot spots, improve edge performance, and make the room easier to manage.
4. Vegetative Growth Needs Stability, Not Maximum Intensity
During vegetative growth, the priority is consistent structure, spacing, and canopy development. This is why dedicated vegetative lighting systems are often easier to manage than running high-output fixtures at reduced settings.
Hanging height during veg should favor even distribution and controlled growth rather than pushing peak intensity. If plants are stretching, the light may be too high or too dim. If leaves are curling, bleaching, or showing stress in the center, the light may be too low or too intense.
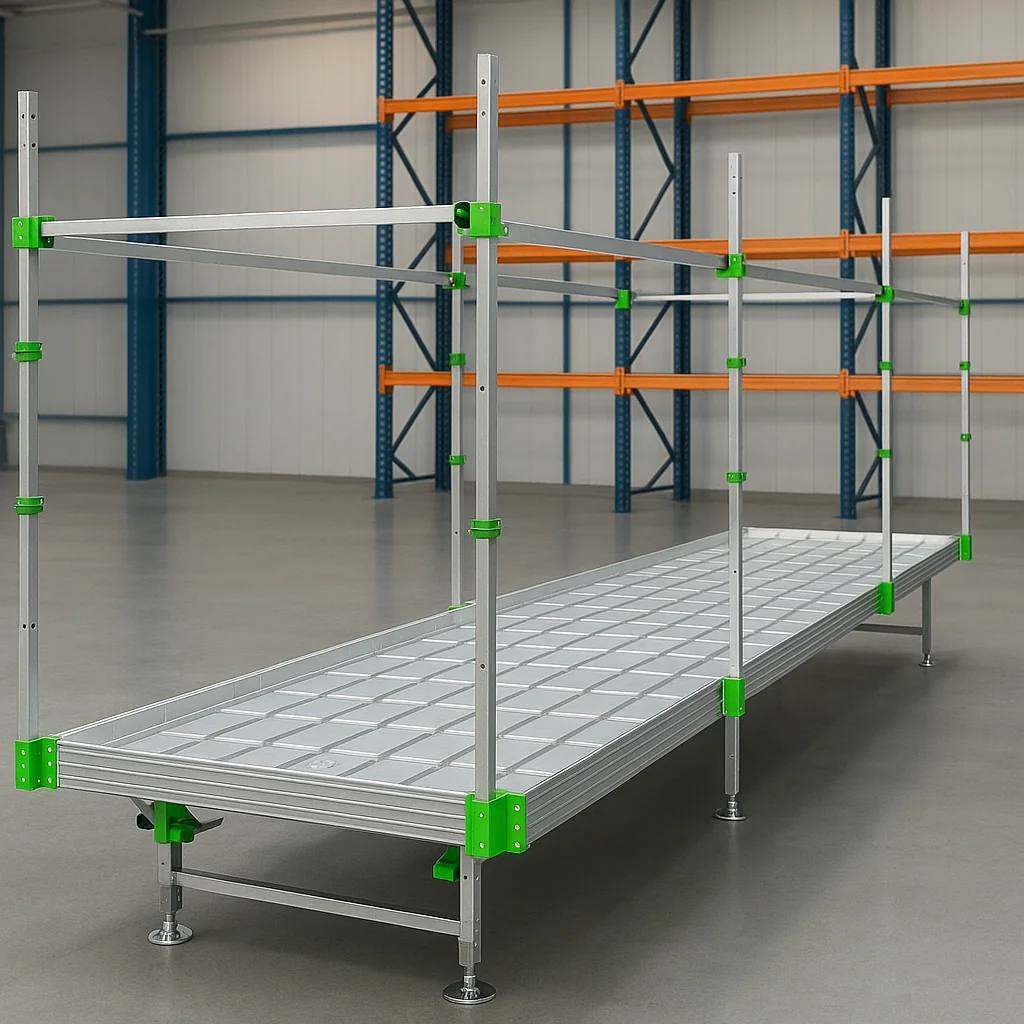
5. Multi-Tier Systems Leave Less Room for Error
In vertical racks, hanging height is constrained by physical space. Fixture thickness, airflow, plant height, irrigation lines, and maintenance access all compete for limited clearance.
If the fixture is too close, stress increases quickly. If it is too far, valuable vertical space is wasted. Height decisions in these systems must be precise because small changes affect both crop response and working room.
6. Use Simple PPFD Checks Instead of Guessing
You do not need a perfect lab setup to see what is happening. A basic grid measurement across the canopy will reveal whether the light is distributed correctly. Measure the center, edges, corners, and spaces between fixtures.
| Observation | Likely Meaning | First Adjustment |
|---|---|---|
| Center too strong | Light too low | Raise fixture |
| Edges weak | Poor overlap | Raise fixture or adjust spacing |
| All readings low | Light too high or dimmed too far | Lower slightly or increase output |
| Hot spots under each fixture | Uneven distribution | Raise and recheck |
| Good average but weak corners | Edge coverage issue | Review spacing or add edge support |
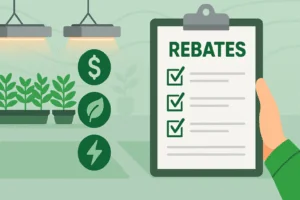
For commercial facilities, hanging height also affects how efficiently installed power is used. Better placement reduces wasted photons and improves canopy utilization, which becomes important when planning rebate-ready lighting upgrades during system replacements.
7. Align Hanging Height with Daily Light Goals
Instant intensity is only part of the picture. Total light exposure depends on the daily schedule. Hanging height should always be adjusted together with DLI planning, not in isolation.
A slightly lower but more even PPFD level can outperform a higher but uneven setup when the total daily light is properly managed. Before lowering fixtures to chase intensity, check whether the crop is already receiving the right daily total.
Supplemental Lighting Considerations
Top lighting defines canopy performance, but dense plant structures sometimes require additional strategies. In those cases, a separate lower-canopy lighting strategy can improve light penetration without changing the primary fixture height.
Common Questions About LED Grow Light Hanging Height
How high should I hang my grow lights?
For most indoor grow rooms, start around 12–24 inches above the canopy during vegetative growth, 18–30 inches for clones and seedlings, and 8–18 inches for higher-output stages. Then adjust based on PPFD readings and plant response.
How far should a 1000 watt LED grow light be from a plant?
A high-output LED fixture is often placed 12–24 inches above the canopy, depending on fixture spread, dimming level, and crop stage. If the center is too strong or leaves show stress, raise the fixture before increasing intensity.
How far should a 300 watt LED grow light be from a plant?
A lower-output fixture may run closer than a larger commercial fixture, but the same rule applies: use the closest height that maintains even coverage without hot spots or plant stress.
How far should a grow light be from the canopy?
The right distance depends on the fixture and stage, but canopy response matters more than a fixed number. If the edges are weak and the center is too strong, the light is probably too low or the spacing is wrong.
Common LED Grow Light Hanging Height Mistakes
- Using one fixed height for all fixtures
- Only measuring the center of the canopy
- Lowering lights to fix every weak-growth problem
- Ignoring fixture spacing and overlap
- Not adjusting across growth stages
- Changing height without rechecking PPFD
How GrowPros Solutions Helps with Grow Light Placement
GrowPros Solutions helps growers match fixture design, hanging height, spectrum strategy, and room layout to the actual production environment. A strong fixture can underperform when placed incorrectly, while a well-positioned system can improve uniformity, reduce stress, and make better use of installed wattage.
Final Thoughts on LED Grow Light Hanging Height
LED grow light hanging height is one of the fastest ways to improve grow room performance without adding equipment. Small adjustments can dramatically improve uniformity, reduce stress, and increase usable light across the canopy.
If your canopy is uneven, the solution is rarely more light. More often, it is better placement, better spacing, and a clearer understanding of how your fixtures distribute light.
If you need help dialing in your setup, contact us for a static and swift result.
FAQ: LED Grow Light Hanging Height
What is the best LED grow light hanging height?
Typical starting ranges are 18–30 inches for clones, 12–24 inches for vegetative growth, and 8–18 inches for higher-intensity stages. Final height should always be confirmed by canopy response and PPFD readings.
Is it better to hang grow lights lower or higher?
Neither is automatically better. The correct height balances intensity and coverage. Too low creates hot spots, while too high reduces usable light at the canopy.
How do I know my LED grow light hanging height is wrong?
Uneven growth, leaf stress, weak edges, large center-to-edge PPFD differences, and hot spots under fixtures are strong signs that hanging height needs adjustment.
Should hanging height change during growth?
Yes. Clones, vegetative crops, and higher-output production stages usually need different light distribution and intensity strategies.
Can raising LED grow lights improve uniformity?
Yes. Raising fixtures often improves spread and overlap, especially when center readings are much stronger than edge readings.
One Response
93opk1